Your flooring’s appearance can tell you plenty about its installation quality. If you’re noticing gaps widening between planks, boards cupping upward, or surfaces buckling unexpectedly, you’ve likely encountered acclimation failure. These issues stem from moisture and temperature fluctuations your installer didn’t account for during setup. Understanding what went wrong—and how to fix it—requires examining each problem individually.
Key Takeaways
- Visible gaps between planks indicate wood shrinkage after installation due to inadequate moisture adjustment time.
- Cupping appears as concave surfaces on boards, resulting from uneven moisture absorption during improper acclimation.
- Warping or irregular bending of floorboards suggests temperature and humidity fluctuations weren’t properly managed beforehand.
- Buckling creates visible peaks or waves across the floor from excessive moisture expansion post-installation.
- Seam separation between planks occurs when uneven moisture infiltration causes boards to expand unevenly after installation.
Why Acclimation Matters: How Humidity and Temperature Damage Flooring
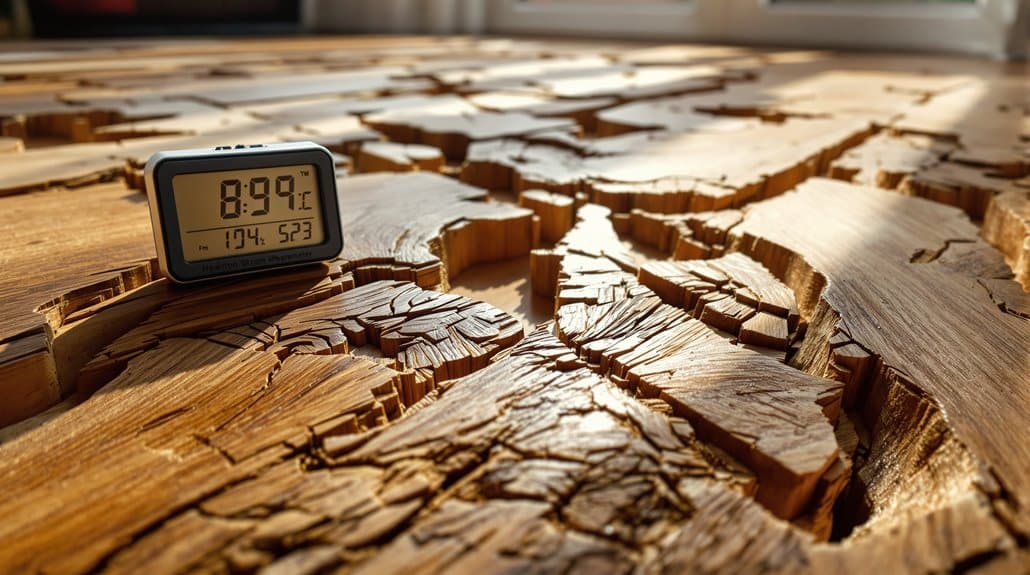
Before you install new flooring, you must acclimate it to your home’s environment for several days. This critical step allows materials to adjust to your space’s specific conditions.
Humidity control is vital since flooring absorbs moisture from the air. Without proper acclimation, wood expands or contracts after installation, creating gaps, buckling, or cupping that compromises structural integrity. Temperature regulation matters similarly—extreme shifts cause materials to expand and contract unpredictably.
You’ll prevent costly damage by allowing flooring to reach balance with your home’s humidity and temperature levels before installation. Most manufacturers require 48-72 hours minimum. Your clients deserve floors that perform reliably for years, and acclimation is the foundation of that performance. Skipping this step directly causes the warping and movement that homeowners mistake for installation defects. In humid climates like Georgia, proper acclimation is especially critical to prevent moisture damage and reduce the risk of mold growth.
Warping and Cupping: Hardwood That’s Curling Up
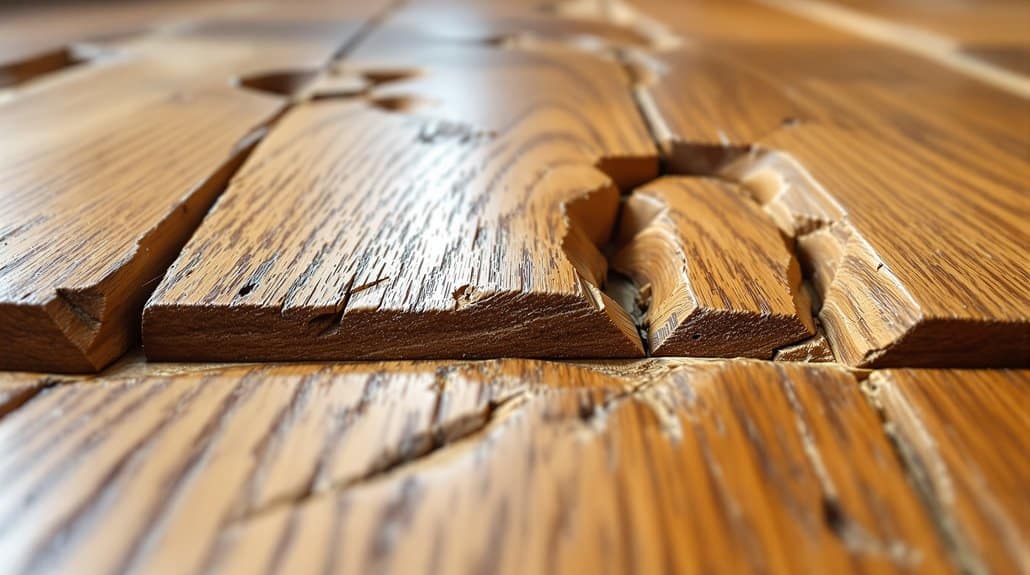
When hardwood floors warp or cup, you’re seeing the physical manifestation of moisture imbalance within the wood itself. Cupping occurs when wood edges absorb more moisture than the center, creating a concave surface. Warping develops when moisture exposure causes the boards to bend or twist irregularly.
During floor inspection, check for these deformities along seams and edges where moisture penetrates most easily. Prevention requires maintaining consistent humidity levels between 30-50% and temperature stability throughout installation and beyond.
Your maintenance tips should include monitoring subfloor moisture before installation, ensuring proper ventilation, and using vapor barriers. Address water damage immediately—don’t wait. Installing unacclimated hardwood accelerates these problems considerably. By controlling environmental conditions and performing regular inspections, you’ll help clients avoid costly replacements and structural complications. Once installed, maintain ideal humidity levels between 35% and 55% to prevent ongoing expansion or contraction of the wood.
Gaps Between Planks: A Sign of Poor Acclimation

While moisture mismanagement causes cupping and warping, improper acclimation creates a different but similarly problematic issue: gaps that develop between planks as wood shrinks after installation. You’ll notice these spaces expanding over time, particularly in heated seasons when humidity drops considerably.
| Gapping Causes | Prevention Method |
|---|---|
| Insufficient acclimation time | Allow 48-72 hours minimum |
| Low humidity levels | Maintain 30-50% humidity |
| Temperature fluctuations | Keep stable indoor climate |
| Inadequate spacing at walls | Leave ½-inch expansion gaps |
| Moisture content mismatch | Test wood before installation |
During your flooring inspection, measure gaps exceeding ¼-inch—this indicates acclimation failure. You’re responsible for educating clients that proper acclimation prevents costly repairs. Install moisture barriers and maintain consistent environmental conditions to protect your installation’s integrity and serve your clients’ long-term satisfaction. Even water-resistant flooring like LVP and laminate can develop gaps if not properly acclimated to match the moisture content of the installation environment.
Buckling Floors: When Your Planks Peak in the Middle
When moisture infiltrates your flooring, you’ll notice your planks expand and create visible peaks or waves across the surface. You must maintain stable humidity levels between 30-50% in your home, as fluctuations cause wood to swell and contract unpredictably. You can prevent buckling by acclimating your flooring to your space for 48-72 hours before installation and ensuring proper ventilation throughout the acclimation period. If you’re looking for flooring that’s inherently water-resistant, LVP offers superior protection against warping and swelling compared to traditional materials.
Moisture Causes Plank Expansion
One of the most common culprits behind buckling hardwood floors is excess moisture causing individual planks to expand beyond their intended dimensions. You’ll notice the damage when moisture balance isn’t maintained before installation timing occurs.
To prevent this issue, you should:
- Acclimate flooring to your home’s humidity levels for 7-14 days before installation
- Monitor moisture content in both subfloor and planks using a moisture meter
- Maintain indoor humidity between 30-50% year-round to prevent expansion and contraction
- Install vapor barriers and guarantee proper ventilation in basements and crawl spaces
- Use kiln-dried wood flooring that’s been properly conditioned
Understanding these preventative measures helps you serve clients by protecting their investment and avoiding costly repairs from moisture-related buckling.
Humidity Levels Affect Stability
Beyond preventing moisture infiltration, you’ll need to monitor how humidity fluctuations directly impact your flooring’s structural integrity. Excessive humidity causes flooring materials to absorb moisture, swelling the planks and creating internal stress. When humidity drops, these materials shrink, leaving gaps and weakening joints. This cyclical expansion and contraction destabilizes your floor’s foundation.
Proper humidity control prevents buckling—those peaked, dome-shaped planks appearing in your floor’s center. You’ll maintain stability by keeping indoor humidity between 30-50%, using dehumidifiers or humidifiers as needed. Different flooring materials react distinctly to humidity changes; hardwood’s particularly susceptible to warping. Monitor seasonal variations and address environmental imbalances promptly. Your proactive humidity management prevents costly repairs and extends your flooring’s lifespan considerably.
Prevention Through Proper Acclimation
Before installation, you’ll acclimate your flooring materials to your home’s specific humidity and temperature conditions—a critical step that dramatically reduces buckling risk.
Proper acclimation techniques involve:
- Storing flooring materials in the installation space for 48-72 hours before laying
- Maintaining consistent indoor temperature between 60-80°F during acclimation
- Keeping humidity levels stable at 30-50% relative humidity
- Allowing air circulation around stacked materials to equalize moisture content
- Measuring moisture content with a moisture meter before installation begins
You’ll protect your investment by allowing flooring materials to stabilize. This prevents dimensional changes that cause buckling after installation. Skip acclimation, and you’re risking costly repairs. The time invested upfront prevents expensive floor replacement and customer dissatisfaction. Your commitment to proper acclimation techniques demonstrates professional standards and builds client trust through quality craftsmanship.
Seam Separation: Gaps That Grow Over Time
You’ll notice seam separation developing when moisture infiltrates your flooring and causes the wood to expand unevenly across planks. Temperature fluctuations intensify this problem by triggering repeated expansion and contraction cycles that push seams further apart. Wood naturally shrinks during dry seasons, creating visible gaps that widen if your subfloor wasn’t properly prepared or acclimated before installation.
Moisture Causes Expansion Issues
When moisture infiltrates flooring materials, it causes them to swell and contract, creating stress at the seams where individual planks or tiles meet.
A moisture imbalance greatly threatens your flooring durability. You’ll notice expansion that forces planks upward or buckling at joints. This movement directly causes seams to separate and gaps to widen progressively.
Key prevention strategies include:
- Maintain indoor humidity between 30-50% consistently
- Install moisture barriers beneath all flooring materials
- Guarantee proper subfloor drainage before installation
- Use dehumidifiers in high-moisture areas like kitchens and bathrooms
- Seal gaps around room perimeters to prevent water infiltration
You must address moisture sources immediately—leaks, poor ventilation, or inadequate barriers compromise structural integrity. Regular monitoring prevents costly repairs and extends your flooring’s lifespan. Proper acclimation and environmental control work together to protect your investment.
Temperature Fluctuations Trigger Movement
As flooring materials expand and contract with temperature changes, they create stress that accumulates at seams and eventually forces gaps to widen. You’ll notice seam separation most prominently during seasonal shifts when your home experiences dramatic temperature swings.
Without proper acclimation, your flooring can’t adjust gradually to your environment. This makes it vulnerable to accelerated movement. You should implement consistent temperature management throughout your space—maintaining steady indoor temperatures prevents excessive expansion and contraction cycles that damage seams.
Pair temperature management with humidity control to protect your investment. These two factors work together to stabilize flooring dimensions. When you monitor both conditions carefully, you minimize stress on joints and seams, greatly extending your floor’s lifespan and maintaining its integrity for years to come.
Wood Shrinkage Creates Visible Gaps
Wood flooring naturally shrinks as moisture content decreases, and this shrinkage occurs unevenly across the board’s grain structure. When you’re installing floors without proper acclimation, you’re setting yourself up for visible gaps that’ll expand over time.
Installation mistakes during the acclimation phase directly cause gaps formation. You’ll notice seams separating as boards contract, compromising both aesthetics and structural integrity.
Prevention strategies:
- Allow wood 7-14 days to acclimate to your space’s humidity levels
- Monitor relative humidity between 30-50% during and after installation
- Install flooring only when subfloor moisture reads below 12%
- Use moisture barriers to prevent moisture infiltration
- Space boards uniformly to accommodate seasonal movement
Proper acclimation prevents these costly gaps. You’re protecting your investment and serving clients with lasting, stable flooring solutions.
How Long Flooring Actually Needs to Acclimate
Acclimation isn’t optional—it’s a critical step that directly determines whether your flooring will cup, crown, or gap after installation. The acclimation duration varies greatly by flooring types. Solid hardwood typically requires 7-14 days in your space before installation, allowing wood to adjust to local humidity and temperature. Engineered hardwood needs 3-5 days, while laminate and vinyl require 24-48 hours minimum.
You’ll want to store materials in their original packaging within the installation area. This lets flooring absorb ambient moisture conditions matching your home’s environment. Skipping or shortening this process creates internal stress that manifests as visible defects post-installation.
Your diligence in respecting acclimation timelines directly protects your clients’ investments and prevents costly callbacks.
Repair or Replace: Your Options for Damaged Flooring
Once flooring damage appears, you’ll face a critical decision: repair the affected area or replace the entire installation. Your choice depends on damage severity, budget, and long-term goals.
Repair methods address localized issues:
- Spot repairs for minor gaps, cupping, or surface damage
- Wood filling and refinishing for scratches and discoloration
- Plank replacement when individual boards are compromised
- Moisture remediation to prevent progressive deterioration
- Adhesive reapplication for separation or lifting
Flooring alternatives offer replacement options when repair isn’t viable. Consider your building’s moisture conditions and acclimation requirements before selecting replacements. Improper installation often causes recurring damage; prioritize correct acclimation protocols during reinstallation. Evaluate whether existing subflooring conditions contributed to failure. Professional assessment guarantees you’re addressing root causes, not just symptoms, protecting your investment and serving your clients’ long-term needs.
Preventing Acclimation Problems in Future Installations
Because of moisture fluctuations causing the majority of flooring failures, you’ll want to establish rigorous acclimation protocols before installation begins. Implement these acclimation techniques to protect your clients’ investments and guarantee long-term performance.
| Flooring Material | Acclimation Duration | Environmental Conditions |
|---|---|---|
| Hardwood | 7-14 days | 60-80°F, 30-50% humidity |
| Laminate | 48-72 hours | 65-75°F, 35-65% humidity |
| Vinyl Plank | 24-48 hours | 68-75°F, 40-60% humidity |
You’ll measure moisture content in both the flooring materials and subfloor before proceeding. Document all readings and environmental conditions throughout acclimation. Store materials in the installation space, allowing them to reach balance with surrounding moisture levels. This preventative approach minimizes expansion, contraction, and cupping issues after installation, delivering superior results for those depending on your expertise.
Conclusion
You might think skipping acclimation saves time and money, but you’ll face expensive repairs instead. Proper acclimation prevents gaps, cupping, and buckling that compromise your flooring’s integrity. By allowing materials to adjust to your home’s humidity and temperature before installation, you’re protecting your investment and avoiding heartbreaking damage. Don’t let preventable problems destroy your beautiful floors—prioritize acclimation every time.
The post Signs Your Flooring Was Installed Without Proper Acclimation appeared first on Flooring Specialist.source https://myflooringspecialist.com/signs-your-flooring-was-installed-without-proper-acclimation/


No comments:
Post a Comment