Most homeowners don’t realize that installation errors—like improper subfloor preparation or inadequate acclimation time—often aren’t covered under manufacturer warranties. You’ll need to act strategically to protect your investment and determine whether you’re dealing with a warranty claim or installer negligence. The steps you take now will directly impact whether you can recover costs or secure repairs.
Key Takeaways
- Document defects with high-quality photos from multiple angles and gather installation details for your evidence package.
- Review warranty documentation carefully to confirm coverage applies to installation errors and understand claim submission requirements.
- Contact a certified NWFA inspector if issues persist to validate defects and strengthen your position professionally.
- File a formal claim with the flooring company including photos, receipts, and warranty certificates as documentation.
- Pursue financial resolution through demand letters, mediation, or small claims court if the installer refuses repairs.
Document the Problem With Photos and Details
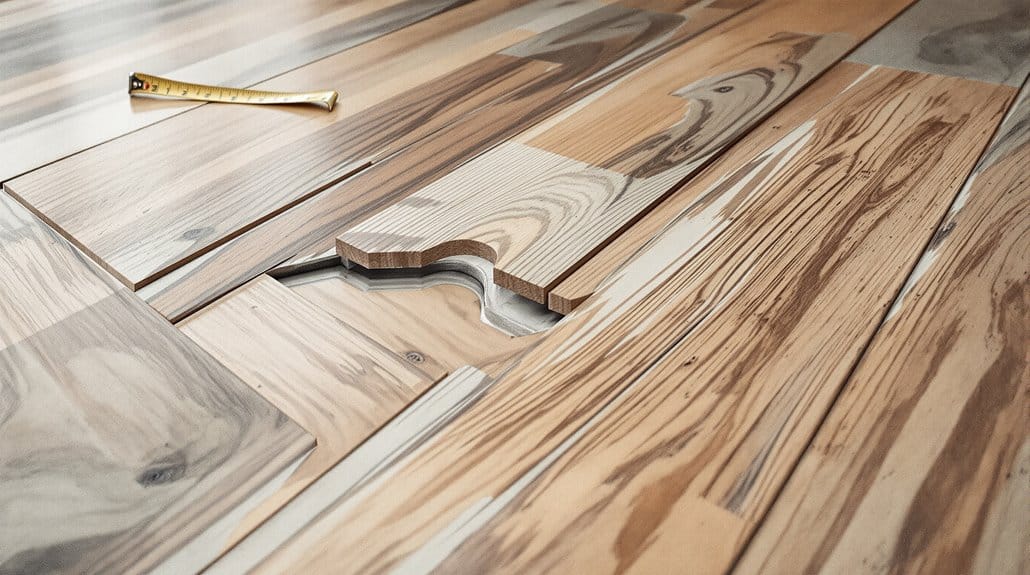
Before you contact your contractor or pursue any remedies, you’ll want to create a detailed record of the installation defects. Document every problem with high-quality photo evidence from multiple angles and distances. Capture uneven surfaces, gaps, misalignment, and visible damage clearly. Include close-ups that showcase specific defects alongside wide shots that demonstrate the overall scope of issues.
Record installation details such as the installation date, contractor name, product specifications, and ambient conditions during installation. Note the room dimensions, square footage affected, and floor type. Write descriptions of each defect, including location within your space and severity levels.
Organize your documentation chronologically with timestamps on all photos. This thorough record strengthens your position when filing claims or negotiating repairs, providing concrete evidence that substantiates your concerns and protects your interests throughout the resolution process. If your flooring was professionally installed, check whether you’re still covered under the one-year installation warranty that many reputable companies provide on their work.
Check Your Warranty Coverage Now
You’ll need to review your warranty documentation details to understand exactly what protections you have for installation defects. Check your coverage limitations and exclusions carefully, as many warranties exclude damage caused by improper installation or environmental factors beyond the manufacturer’s control. Once you’ve confirmed your coverage applies, you can begin the filing your claim process by contacting your installer or flooring manufacturer with your documentation and photos. For any repairs needed, consult with experienced professionals who can assess the damage and recommend the best course of action to restore your floors.
Warranty Documentation Details
When flooring problems arise, your warranty documentation becomes your most valuable resource for understanding what’s covered and what remedies are available. You’ll need to locate your original warranty paperwork and review its specific terms carefully.
| Documentation Element | What to Review |
|---|---|
| Coverage Period | Installation date and expiration timeline |
| Covered Defects | Manufacturing flaws versus installation errors |
| Documentation Requirements | Photos, receipts, and installer information needed |
| Claim Process | Submission procedures and required forms |
| Remedies Available | Repair, replacement, or refund options |
You should gather all documentation requirements before filing warranty claims. This includes purchase receipts, installation records, and photographs of the defects. Reputable flooring specialists with over 18 years of experience often provide comprehensive warranties on both their products and installation services, giving you additional protection beyond manufacturer coverage. Contact your flooring manufacturer or installer promptly with your complete documentation package to initiate the claims process efficiently.
Coverage Limitations and Exclusions
Most flooring warranties don’t cover every conceivable defect or damage scenario, so you’ll want to carefully examine the exclusions section of your coverage documentation. Understanding your coverage scope prevents disappointment when filing claims.
Common exclusion types include damage from improper maintenance, water exposure, and wear patterns inconsistent with normal use. You’ll typically find that installation errors caused by contractors—rather than manufacturers—fall outside warranty protection. Similarly, damage resulting from structural movement, UV fading, or environmental factors often remains uncovered.
Review whether your policy covers labor costs for reinstallation or only material replacement. Some warranties exclude damage from accidents, negligence, or unauthorized repairs. Pay particular attention to conditions voiding coverage entirely, such as installing floors in basements prone to moisture.
While warranties may have limitations, investing in high-quality materials from the start can reduce the likelihood of defects and improve the longevity of your flooring.
Document these limitations thoroughly before proceeding with remediation efforts.
Filing Your Claim Process
Filing a warranty claim requires three essential steps: gathering documentation, contacting your flooring manufacturer or installer, and submitting your evidence package. Start by collecting photos showing the defects, installation receipts, warranty certificates, and any correspondence with the installer. Document claim timelines carefully—most manufacturers enforce strict deadlines for filing, typically ranging from one to five years depending on your warranty terms.
Next, contact your flooring company with your claim documentation, providing detailed descriptions of what you’ve observed. Submit your evidence package through their preferred method, whether email or formal submission. Include measurements, damage specifics, and installation dates. Keep copies of everything you send.
Follow up consistently until you receive acknowledgment. Understand that claim documentation requirements vary by manufacturer, so review your specific warranty language before submitting anything.
What Went Wrong: Common Installation Mistakes
Because improper installation techniques can compromise your floor’s structural integrity and aesthetic appeal, you’ll want to understand the mistakes that typically occur during the process.
Common installation errors include inadequate subfloor preparation, which fails to address moisture barriers and leveling issues. Improper acclimation of materials before installation causes expansion and contraction problems. Incorrect spacing between planks restricts natural movement, resulting in buckling or gaps.
Flooring issues often stem from insufficient fastening or adhesive application, undermining durability. Misaligned seams create visual inconsistencies and weak points. Poor ventilation during installation traps moisture, promoting mold growth and material degradation.
You’ll likewise encounter problems from using incompatible underlayment or failing to follow manufacturer specifications. These installation errors directly impact your investment’s longevity and performance, making professional assessment vital for determining appropriate remediation strategies.
Call Your Installer: What to Say
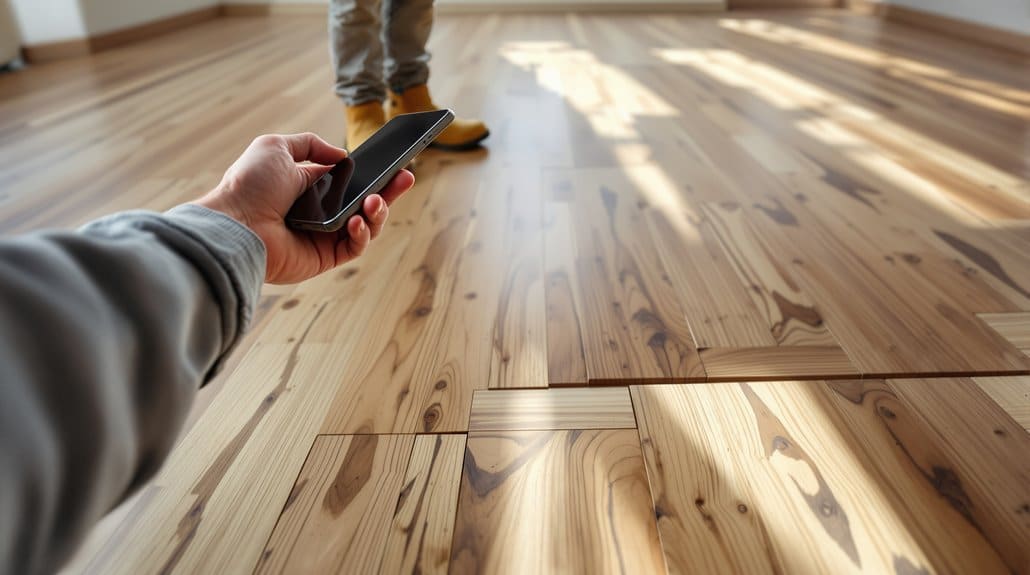
Once you’ve identified the specific installation problems affecting your floors, contacting your installer is the next step toward issue resolution. Effective installer communication requires clarity and documentation.
When you call, prepare these details:
- Specific defects you’ve observed (gaps, buckling, uneven surfaces)
- Location of problems throughout your installation
- Photos or videos showing the damage
- Installation date and warranty information
- Your preferred timeline for correction
Describe problems objectively without accusation. Reference your contract terms and warranty coverage. Ask whether your installer will correct issues at no charge or if costs apply. Request a written estimate if repairs aren’t covered.
Document all conversations, including dates, names, and commitments made. If your installer proves unresponsive or refuses accountability, you’ll need this record for escalation or legal action.
Do You Need an Independent Inspector?
When your installer dismisses your concerns or you’ve noticed persistent issues like uneven surfaces, gaps, or squeaking, you’ll want to determine whether an independent inspector can validate your observations. You should look for inspectors who hold certifications from organizations like the National Wood Flooring Association (NWFA) or the International Certified Flooring Inspectors (ICFI), as their credentials guarantee they understand industry standards and installation protocols. A qualified inspector will provide documented findings that serve as evidence in disputes, making their selection critical to strengthening your position before pursuing further remedies.
Signs You Need One
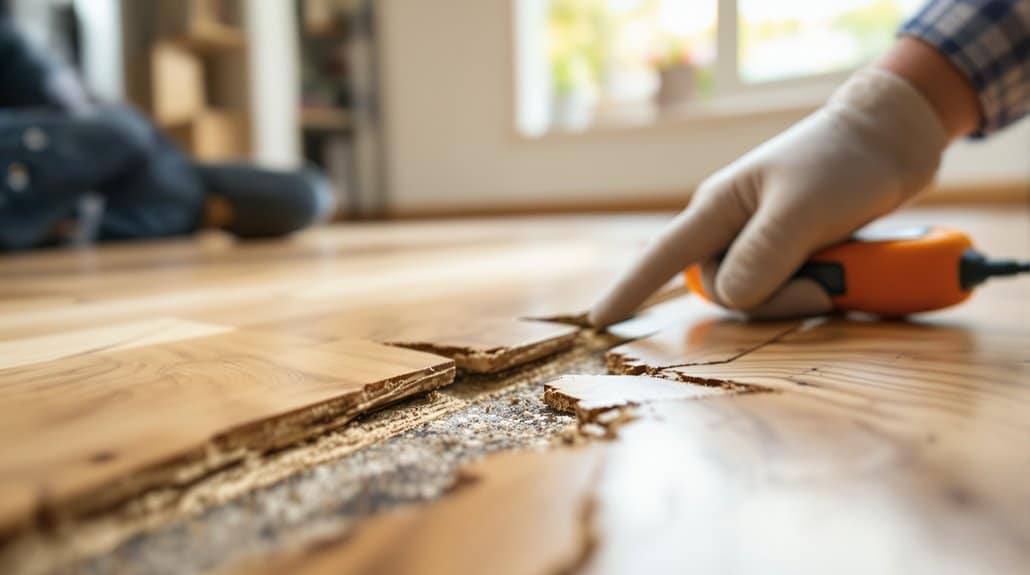
Before you invest in costly repairs or pursue legal action against your installer, you’ll want to determine whether your flooring issues actually stem from installation errors rather than normal wear, subfloor problems, or environmental factors.
You’ll need an independent floor inspection when you encounter:
- Visible gaps or buckling that emerged shortly after installation
- Uneven surfaces causing trips or furniture instability
- Adhesive failures or separation between planks
- Moisture damage inconsistent with your home’s environmental conditions
- Installation that deviates from manufacturer specifications and industry installation standards
An independent inspector evaluates whether your installer followed proper protocols. They’ll document deviations from installation standards, assess subfloor preparation, check moisture levels, and provide objective evidence for potential claims. This professional assessment protects your interests and establishes liability before you proceed further.
Finding A Qualified Inspector
After determining that an independent inspection’s warranted, you’ll need to locate an inspector with specific credentials and expertise in flooring installation defects.
| Credential | Relevance | Verification |
|---|---|---|
| NWFA Certification | Wood flooring expertise | Official registry search |
| Professional liability insurance | Financial protection | Current policy documentation |
| Years of experience | Proven track record | References and portfolio |
Your inspector qualifications should include state licensure where applicable and documented training in installation standards. During the inspection process, they’ll evaluate substrate preparation, adhesive application, acclimation procedures, and expansion gaps. Request inspectors who provide detailed written reports with photographic evidence and specific defect identification.
Confirm credentials through professional associations and check references from previous clients. This diligence guarantees you’re receiving expert assessment that supports your case when addressing installation failures with contractors or manufacturers.
Repair, Replace, or Refund: Your Three Options
Once you’ve identified installation defects in your flooring, you’ll need to evaluate three distinct remedies: repair, replacement, or refund.
Your choice depends on defect severity, flooring materials involved, and installer accountability. Consider these factors:
- Repair techniques address minor issues like gaps or uneven shifts cost-effectively
- Replacement options suit extensive damage affecting multiple flooring materials or structural integrity
- Refund policies require careful contract review and documented installation failures
- Cost-benefit analysis determines whether remediation outweighs financial recovery
- Timeline considerations impact your decision when balancing immediate occupancy needs
Repair typically resolves cosmetic problems and minor misalignments. Replacement becomes necessary when defects compromise functionality or safety. Refunds work best when installation failures are systemic and documented clearly.
Request written assessments detailing recommended solutions and associated costs before proceeding. This protects your interests and guarantees accountability from your installer or contractor.
Get Your Money Back or Files Fixed
When installation defects demand financial resolution, you’ll need to navigate either compensation claims or corrective work agreements with your installer. Understanding your consumer rights strengthens your position considerably.
Document all defects photographically and in writing before initiating contact. Request a formal inspection from your installer to establish liability. If they refuse accountability, pursue money recovery through written demand letters outlining specific violations against industry standards.
Review your contract for warranty provisions and dispute resolution clauses. Many jurisdictions require installers to carry liability insurance covering installation errors. File claims promptly, as statutes of limitations apply.
Consider small claims court if amounts warrant it, or demand mediation before litigation. Simultaneously, obtain competing bids for repairs—these estimates substantiate your financial claims and demonstrate good-faith resolution efforts.
Conclusion
You’ve documented meticulously; now you’ll advocate confidently. While documentation strengthens your position, action secures resolution. You’ve reviewed warranty terms; you’ll contact installers directly. Before accepting inadequate repairs, you’ll demand replacements. Rather than absorb costs, you’ll pursue refunds. You’ve gathered evidence; you’ll leverage independent inspectors strategically. Instead of prolonging disputes, you’ll establish clear timelines. Your thorough preparation contrasts sharply with installer negligence, positioning you advantageously for successful claim resolution through repair, replacement, or financial recovery.
The post What to Do If Your Floors Were Installed Incorrectly appeared first on Flooring Specialist.source https://myflooringspecialist.com/what-to-do-if-your-floors-were-installed-incorrectly/


No comments:
Post a Comment