You’re right—DIY flooring looks cheaper upfront. But you’re likely overlooking the real expenses that accumulate quickly. Tool rentals, equipment fees, and material waste from miscalculations add up fast. Then there’s the subfloor damage that emerges mid-project, the permits you didn’t anticipate, and the professional contractor you’ll eventually need to fix it all. What starts as savings often becomes something entirely different.
Key Takeaways
- Improper installation can void warranties and cause costly structural damage requiring professional remediation services.
- Tool rental expenses ($50–$150 weekly) plus material waste (5–15%) significantly increase total project costs beyond materials alone.
- Cutting and measurement errors account for 5–10% material loss, necessitating quality tools and mastery of techniques.
- Permits and inspections incur surprise fees ($50–$500 application, $75–$200 inspection) plus code compliance modification expenses after failures.
- Subfloor moisture damage without proper barriers compromises structural integrity, particularly in humid climates, demanding expensive professional fixes.
How Much Does DIY Flooring Actually Cost vs. Professional Installation?
When you’re weighing whether to install flooring yourself, the cost differential often hinges on labor expenses rather than materials. Professional installation typically costs $3–$10 per square foot, while DIY material expenses run $2–$8 per square foot depending on your material selection.
Your budget planning must account for hidden costs: specialized tools you’ll rent or purchase, potential mistakes requiring reinstallation, and time investment. Professional installers absorb these through efficiency and expertise.
You’ll save substantially on labor—often 40–60% of total project costs—but you’re gambling on execution quality. Improper installation voids warranties and creates long-term structural issues that prove far costlier than professional work.
Evaluate your skill level honestly. Strategic material selection combined with realistic budget planning determines whether DIY truly saves money or creates expensive problems. Consider water-resistant options like LVP flooring if you’re tackling moisture-prone areas, as these materials offer durability and low maintenance that can offset installation challenges.
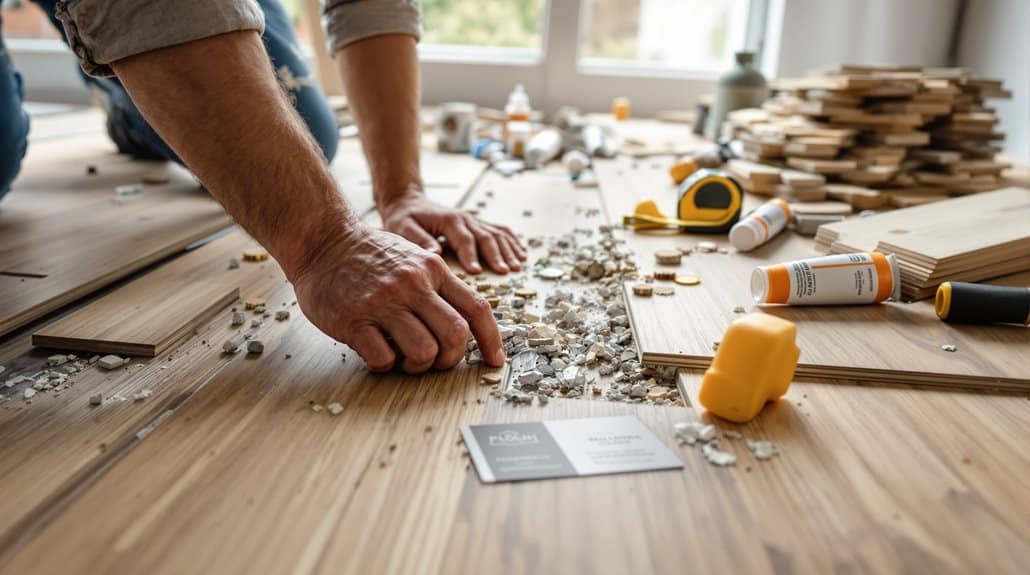
The Specialized Tools You’ll Need to Buy
Since improper installation can undermine your entire project’s success, you’ll need to invest in specialized equipment that professionals already own. Crucial equipment includes a miter saw for precise cuts, a pneumatic nailer for secure fastening, and a table saw for larger boards. You’ll additionally require a moisture meter to assess subfloor conditions and a power drill for substrate preparation.
Tool rental costs typically range from $50 to $150 weekly, depending on your specific flooring type. Consider purchasing affordable handheld tools like spacers, tapping blocks, and pry bars outright. A wet saw becomes necessary for tile installations, adding $75 to your rental expenses.
Assess whether buying or renting makes financial sense based on your project timeline and future flooring needs. For tile projects specifically, you’ll also need notched trowels to properly apply thinset mortar in manageable sections for secure tile adhesion.
How Subfloor Mistakes Lead to Costly Repairs

You’ll encounter three critical subfloor mistakes that generate substantial repair costs: moisture damage and rot that compromise structural integrity, improper underlayment installation that allows water infiltration, and foundation settlement problems that cause uneven flooring and cascading damage. Each error compounds over time, transforming what could’ve been a minor installation correction into expensive remediation requiring professional intervention. Recognizing these failure points before you install your flooring prevents the exponential cost escalation that negligent subfloor preparation inevitably triggers. In humid climates like Georgia, proper moisture barriers become even more critical to prevent mold growth and long-term structural deterioration beneath your flooring investment.
Moisture Damage And Rot
Due to subfloors operating in direct contact with foundation moisture and crawl space humidity, they’re especially vulnerable to water infiltration when improperly installed or maintained. You must install adequate moisture barriers beneath your flooring system to protect your clients’ investments.
Without proper moisture barriers, you’ll expose subfloors to capillary action, which draws water upward through wood fibers. This process initiates rot prevention failures, compromising structural integrity. Fungal growth accelerates deterioration, creating safety hazards and expensive remediation costs.
You should inspect crawl spaces regularly, ensuring vapor barriers remain intact and ventilation functions properly. Install quality moisture-resistant underlayment materials before laying finished flooring. Address any standing water immediately.
Your attention to these details prevents catastrophic damage that could devastate your reputation and liability exposure. Proper moisture management protects both the home’s structural foundation and your professional credibility. Controlling humidity levels through dehumidifiers or air conditioners helps prevent wood floors from warping or cracking during seasonal transitions.
Improper Underlayment Installation
When underlayment isn’t installed correctly, it fails to provide the cushioning, moisture protection, and thermal regulation that finished flooring demands. You’ll encounter premature wear, hollow spots, and accelerated deterioration when you skip proper preparation or use incompatible underlayment types.
Common installation techniques mistakes include inadequate sealing of seams, insufficient fastening, and failing to acclimate materials to room conditions. You’re risking considerable repair costs when you don’t follow manufacturer specifications for your specific flooring type.
Improper installation compounds moisture issues, allowing water penetration that compromises your subfloor structure. You’ll face costly replacements of both underlayment and flooring when shortcuts go wrong.
Invest time learning correct installation techniques for your chosen underlayment types. Your attention to detail prevents expensive repairs and extends your flooring’s lifespan considerably.
Foundation Settlement Problems
Foundation settlement—the gradual sinking or shifting of your home’s structural base—directly results from subfloor mistakes that compromise load distribution and moisture management. When you install underlayment incorrectly, you’re allowing water infiltration that weakens the subfloor’s integrity over time. This degradation shifts structural loads unevenly, forcing your foundation to bear unbalanced pressure.
You’ll notice warning signs: cracked drywall, sticking doors, or uneven flooring surfaces. Addressing these issues early prevents catastrophic foundation repair costs that can reach tens of thousands of dollars.
Protecting your home’s structural integrity requires proper subfloor installation techniques and moisture barriers. By serving your community with quality workmanship, you’ll help homeowners avoid expensive repairs and maintain safe, stable homes for years to come.
Material Waste From Cutting and Measurement Errors
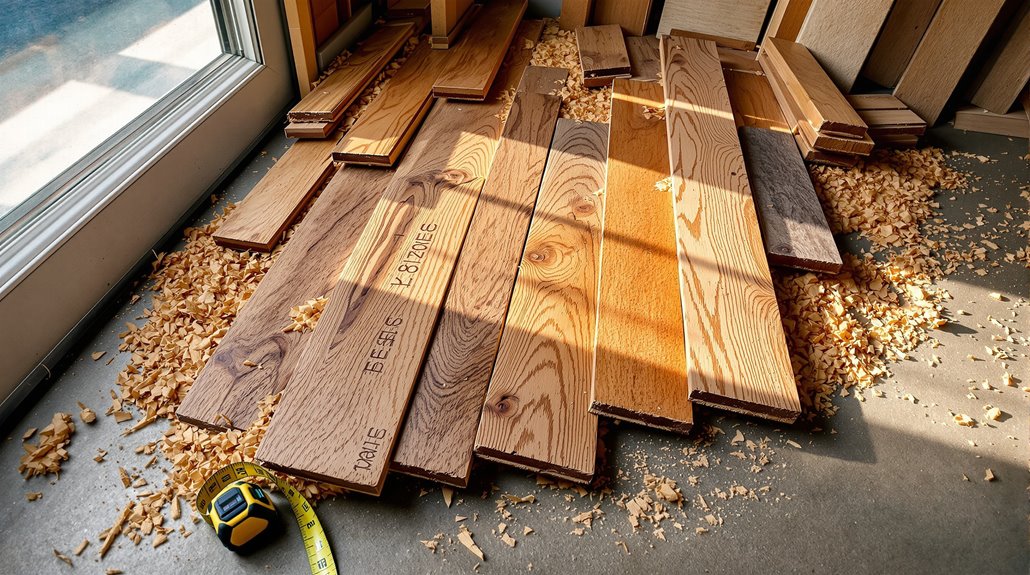
You’ll face significant material waste when you miscalculate dimensions or misread measurements, forcing you to purchase additional flooring to compensate for unusable pieces. Improper cutting techniques—such as angled cuts, inconsistent depth, or inadequate blade angles—damage materials beyond recovery and compound your waste percentage. These errors directly inflate your project costs by requiring replacement materials that you wouldn’t need with precise planning and correct cutting methods.
Miscalculation Leads to Waste
Since flooring projects demand precise measurements and cuts, even minor errors compound into substantial material waste and budget overruns. You’ll find that miscalculations—whether from rounding dimensions or overlooking layout complexities—frequently necessitate purchasing replacement materials.
| Error Type | Typical Waste % |
|---|---|
| Measurement rounding | 8-12% |
| Layout miscalculation | 10-15% |
| Cutting mistakes | 5-10% |
| Seaming errors | 6-9% |
You can implement accurate measurement techniques by using laser measures and double-checking calculations before cutting. Waste reduction strategies include creating detailed layout drawings and accounting for pattern repeats. You’ll likewise benefit from ordering 10-15% extra material as contingency. By adopting these methods, you’ll minimize costly errors and optimize your project budget while maintaining quality installation standards.
Improper Cutting Techniques Cost
Improper cutting techniques represent one of the most notable sources of material waste in DIY flooring projects, with errors during the cutting phase alone accounting for 5-10% of total material loss. You’ll notice that cutting accuracy directly impacts your project’s efficiency and final cost.
Selecting appropriate tools matters greatly. Dull blades, misaligned saws, and inadequate measuring devices compound errors exponentially. You should invest in quality equipment and maintain it properly to guarantee precise cuts every time.
When you measure twice but cut once carelessly, you’ve wasted materials and money. Master fundamental techniques: mark clearly, secure pieces firmly, and verify measurements before cutting. You’ll reduce waste considerably by understanding proper blade angles, feed rates, and crosscutting methods.
Your preparation directly determines your material efficiency and project success.
Why DIY Takes 3–5X Longer Than Professional Work
While amateur installers often underestimate project timelines, professionals complete flooring work in a fraction of the time due to their refined skills, specialized equipment, and established workflows. Your time management suffers when you lack experience with layout planning, substrate preparation, and installation sequences. A realistic skill assessment reveals that you’ll encounter unexpected complications—measuring errors, material waste, and problem-solving delays—that professionals navigate automatically.
Consider these factors:
- Experience gap: Professionals install hundreds of projects yearly; you’re learning as you work
- Equipment efficiency: Commercial-grade tools accelerate tasks that consume days with consumer equipment
- Workflow optimization: Established systems eliminate costly decision-making delays and rework
You’re investing your labor hours at markedly reduced productivity rates, effectively multiplying project duration and consuming time you could allocate to serving your community or family more meaningfully.
Common DIY Mistakes and How Much They Cost to Fix
The time you save by hiring professionals pales in comparison to the financial damage you’ll incur from installation errors. Cutting errors and measurement mistakes compromise material integrity, requiring costly replacement stock. Tool misuse damages subfloors, escalating repair expenses considerably. Installation delays compound labor costs when you’re managing projects alongside other commitments. Budget overruns accumulate through planning oversights—inadequate substrate preparation, improper acclimation, or miscalculated square footage. Design mismatches waste materials and necessitate reinstallation. Safety hazards from improper techniques create liability exposure. These mistakes typically cost 40–60% more to remediate than the original installation price. Professional installers prevent these issues through expertise, precision equipment, and established protocols, ultimately protecting your investment and ensuring your clients receive superior results.
Permits, Inspections, and Surprise Fees
Before you break ground on your flooring project, you’ll need to determine whether your jurisdiction requires permits—and this step’s often where DIYers encounter their first financial surprises.
Permit requirements vary greatly by location and project scope. You’ll likely face inspection timelines that delay your work, adding labor costs. Local regulations often mandate specific installation standards you might not anticipate.
Unexpected expenses you should budget for:
- Permit application fees ranging from $50–$500 depending on project scope and location
- Inspection fees charged separately from permits, typically $75–$200 per inspection
- Code compliance modifications required after inspections fail, causing material waste and reinstallation expenses
Failing to account for these costs leaves you vulnerable to budget overruns. Contact your local building department before purchasing materials to clarify all requirements and associated fees for your specific flooring installation.
When Professional Installation Saves You Money
Although DIY flooring offers cost savings on labor, hiring professionals can actually reduce your total project expenses in several critical scenarios. Professional installers deliver expert insights on installation options that minimize material waste and prevent costly mistakes. They’ll assess your skill level honestly and identify budget considerations you’d otherwise overlook. Their work carries warranty implications protecting your long-term benefits investment, whereas DIY errors often require expensive remediation. Professionals manage project timelines efficiently, reducing disruption costs. They optimize design flexibility within structural constraints, enhancing resale value substantially. Furthermore, they understand maintenance costs associated with improper installation and prevent premature replacement expenses. By serving your best interests rather than pursuing quick savings, you’ll realize that professional installation often delivers superior financial outcomes when accounting for warranty coverage, durability, and property appreciation.
Conclusion
You’ll find that DIY flooring frequently fails financially. Problematic planning, pricey permits, and perpetual problems plague projects. You’re prone to purchasing pricy equipment, producing prodigious waste, and prolonging timelines tremendously. Your miscalculations metastasize into massive repair expenses, ultimately negating negligible savings. Professional installation provides protective performance and proven proficiency, positioning you properly for lasting results.
The post The Hidden Costs of DIY Flooring Projects appeared first on Flooring Specialist.source https://myflooringspecialist.com/the-hidden-costs-of-diy-flooring-projects/


No comments:
Post a Comment